![]() Press the RECT key.
Press the RECT key.
A popup menu will appear for selecting the type of rectangle to be milled.
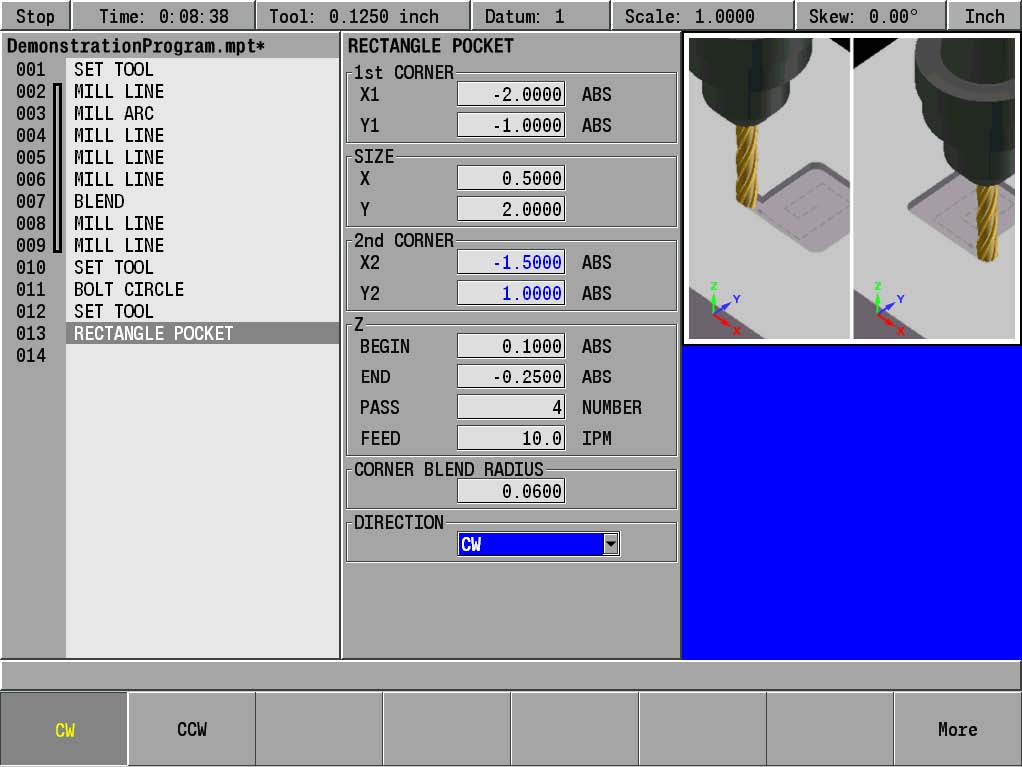
Highlight Pocket and press the ENTER key. The RECTANGLE POCKET dialogue will be displayed. The cursor will default to the first field (X1).
In the 1st CORNER: X1 field enter -2.0. In the 1st CORNER: Y1 field enter -1.0.
ARROW down to SIZE: X field and enter 0.5 ARROW down to SIZE: Y field and enter 2.0.
The 2nd CORNER fields will automatically fill in based on the data from the 1st CORNER: fields, and the SIZE: fields.
The Z: begin field, and Z: End field inserts the same information that was entered for the BOLT CIRCLE dialogue information.
ARROW down to highlight the Z: BEGIN field and enter .100. ARROW down to highlight the Z: END field and enter -.25. ARROW down to highlight the Z: PASS field, and enter 4 for the
NUMBER. ARROW down to the CORNER BLEND RADIUS: field, and enter 0.125. ARROW down to highlight the DIRECTION field, and select CW
(Clock Wise) by pressing the CW soft key.

![]() Press the USE key.
Press the USE key.
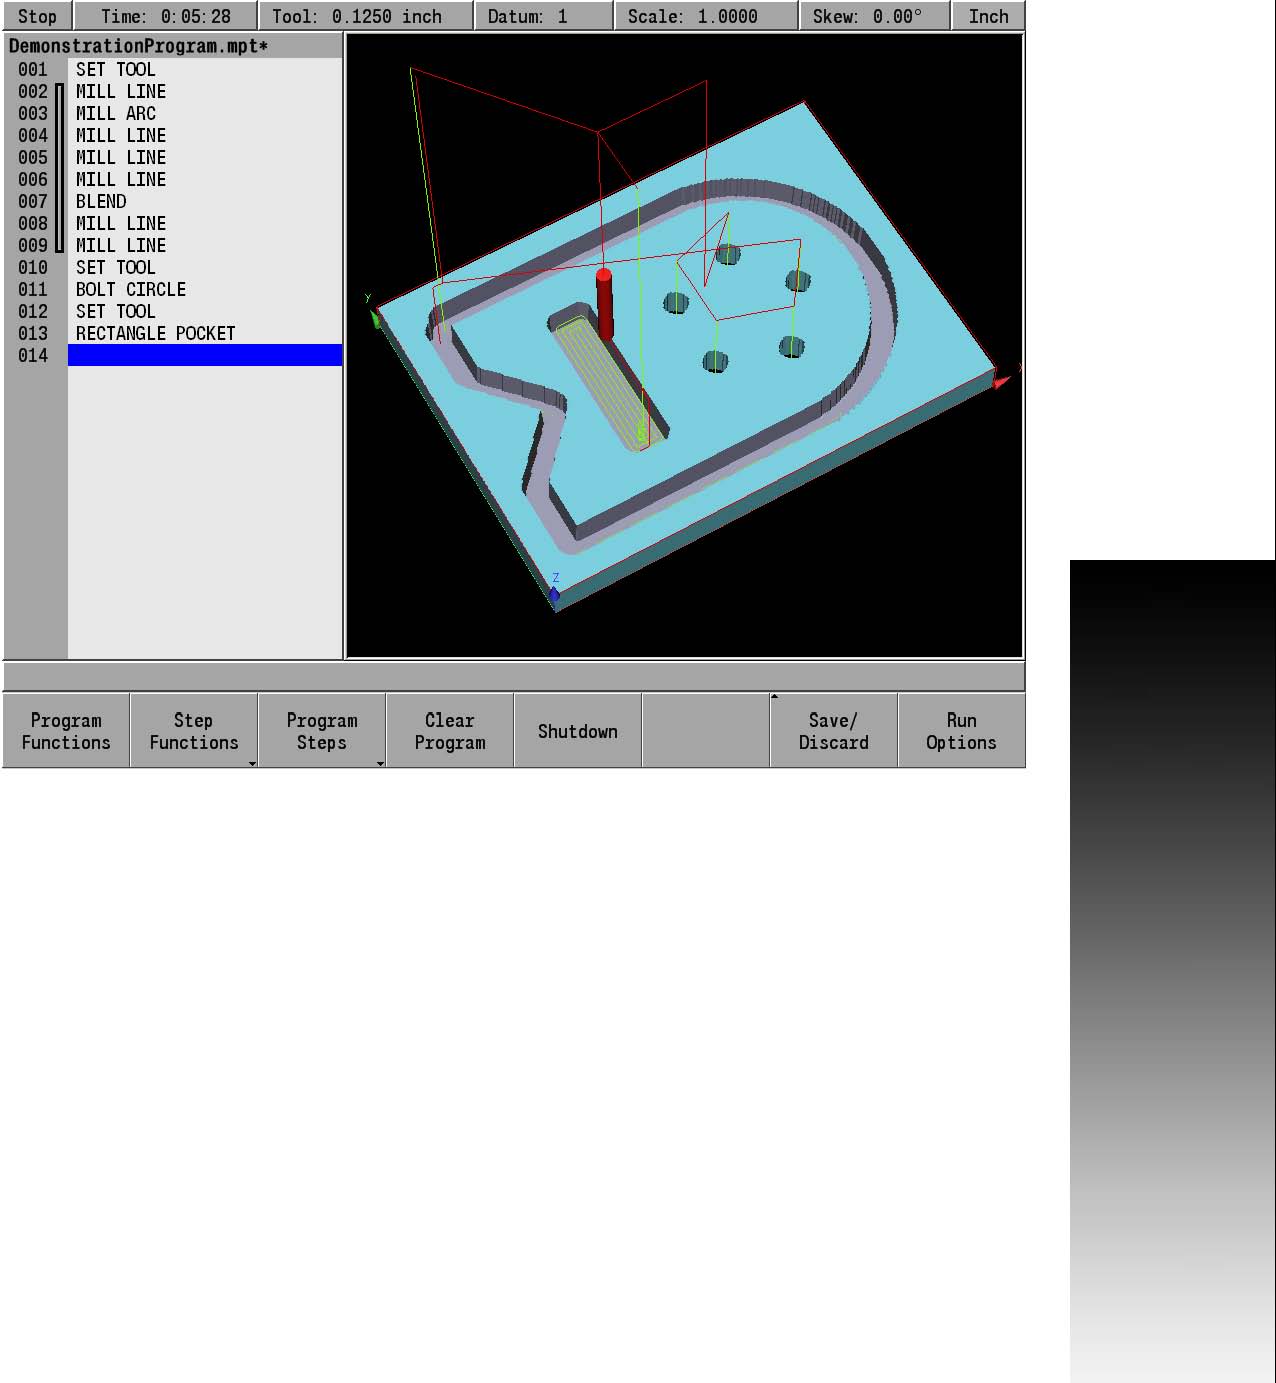
The demonstration program is now complete. Save the program, replacing the existing program.

7 Demonstration Program .1
ACU-RITE MILLPWRG2
121